KATB Blog

peach jam & mini scone ice cream sliders

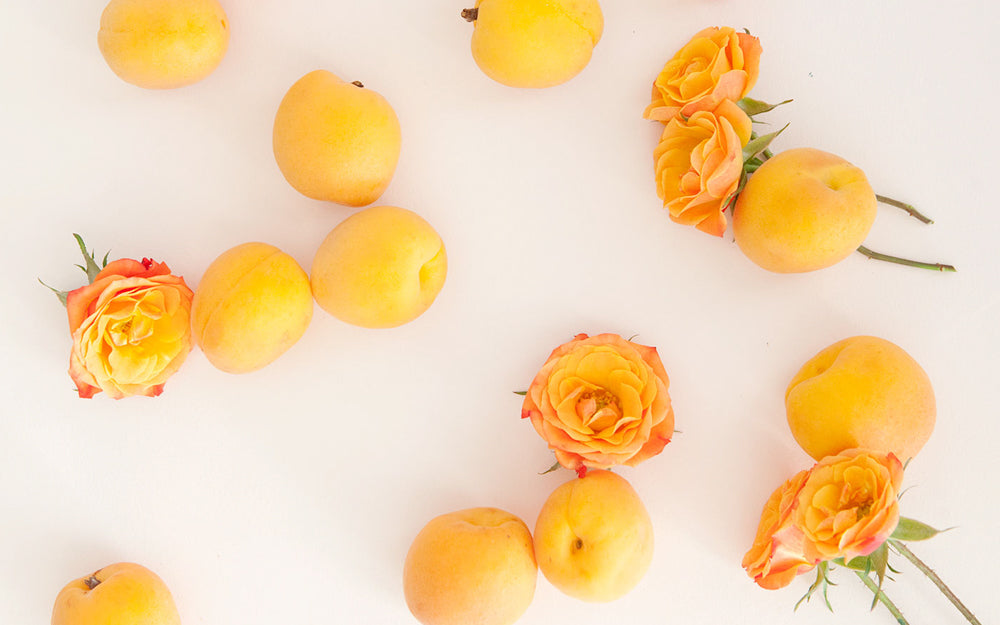
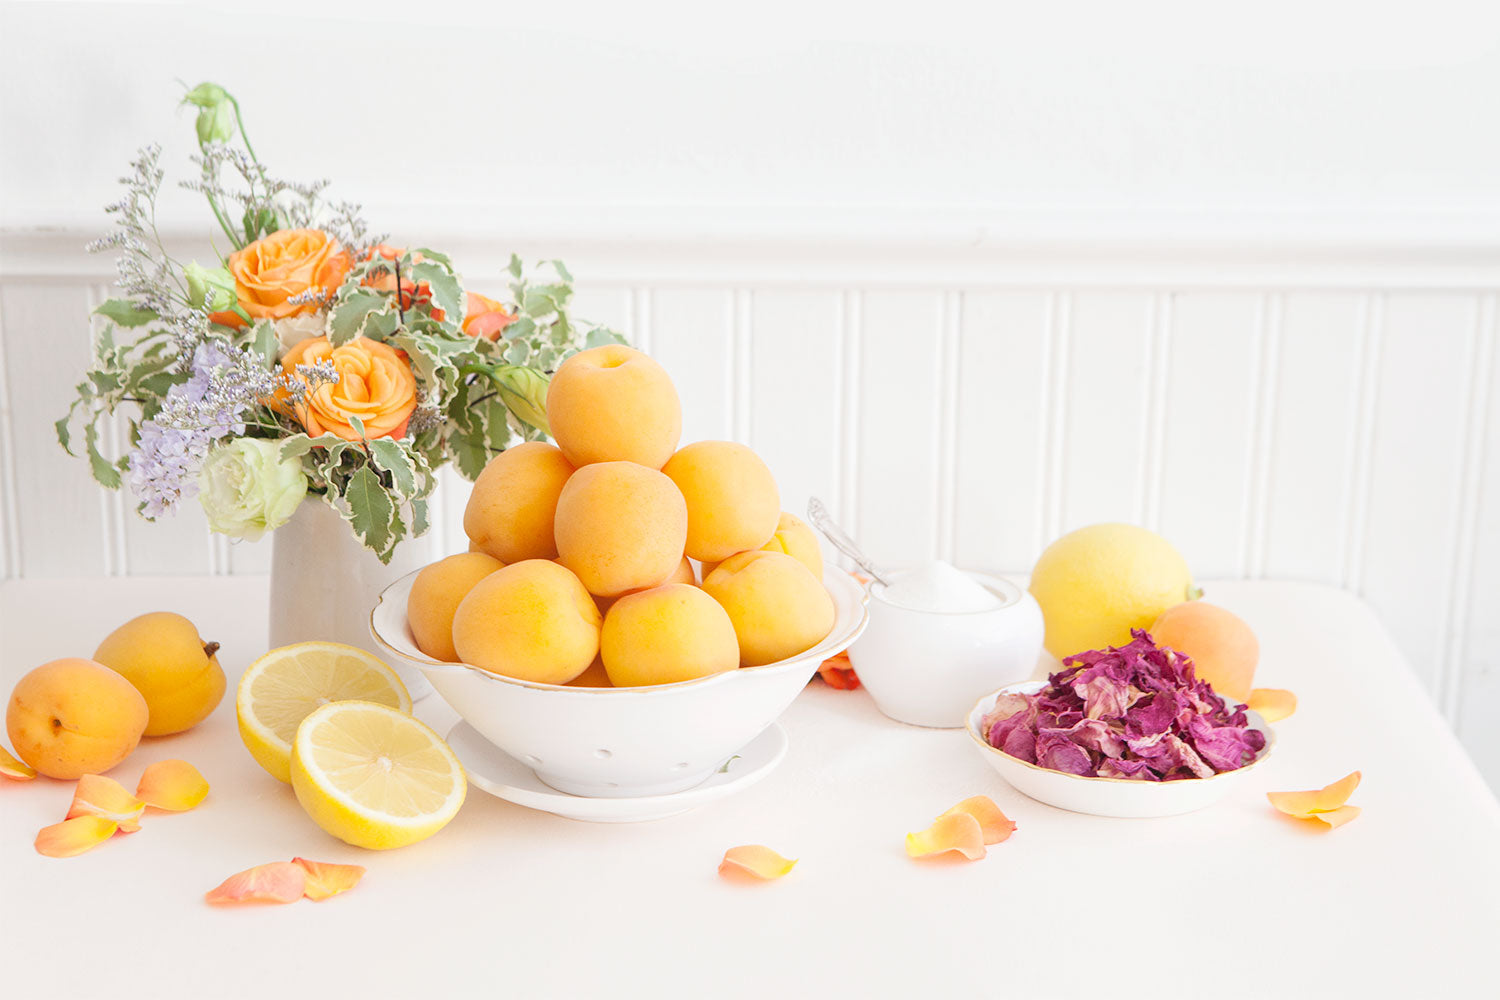
Though it’s tempting to jump right into the excitement of autumn, with its cozy sweaters, chilly breezes, and warm spices, here at KATB were savouring these last few dog days of summer, as I am sure we will find ourselves knee-deep in snow in a blink of an eye!  

Continue reading

apricot rose jam with #pastelcraftclub

When my dear friends Alyssa (from Random Acts of Pastel) and Paige (from Studio Bicyclette) approached me to be a part of their #PastelCraftClub for a special one-on-one jam making session to share on their blogs, I jumped at the chance.  Spend some quality time with two of my favourite ladies, make some beautiful imagery, cook up delicious things, AND spread some tips and tricks for jam making at home? Sign me up!

Every fruit preserve is equal in my eyes, but after a bit of deliberation I decided to share not only one of the most seasonal fruits at the market right now, but also my personal favourite jam to make of the whole year!  Apricot jam is easy to prep (little to no chopping involved), intuitive to cook, bright and beautiful to look at, pairs perfectly with a variety of different flavour embellishments, and is a delicious addition to any pantry.

There are many different varieties of apricots that debut throughout the growing season, each of which have unique colours, textures, and flavour profiles.  From tiny yellow Pattersons (which we used for this shoot) to large blushed Rivals, to the most famous and rare jam-making variety Blenheims.  In California specifically, some growers are even experimenting with cross-pollination to produce unique stone fruit hybrids for added diversity and a breath of fresh air in our produce market, which has been dramatically simplified over the past couple decades for economic purposes.  Apriums, pluots, plumcots are all apricot/plum hybrid cultivars which inherit characteristics quintessential of their heritage.  In early summer, the most popular of these are the “velvet” varieties - including blackgold, and red velvet apricots. Actually apriums of 75% apricot and 25% plum, their velvety apricot-like flesh is paired with a tart, sour skin, a nod to their plum lineage.

Ontario apricots, set to debut in late July, have their own special characteristics due to our harsh northern climate.  Of course, Ontario fruit is harvested later in the summer months, featuring a more full-bodied apricot flavour with hints of tangerine.  Their denser flesh that is more resistant to breaking down when heated can be attributed to generations of growth in a northern climate as well as their freshness and short transport compared to the lengthy, refrigerated drive from California.  The end result yielding a more fruit forward, chunky preserve.

Alyssa, Paige and I had such a blast together in the kitchen, and it was an absolute joy to be able to share a little bit of the art of jam making with them, and now with you! So without further ado, scroll down for my Classic Apricot Jam recipe embellished with rose petals! I've also shared some easy peasy canning instructions to take all the stress out of preserving.  

Oh, and be sure to head over to Random Acts of Pastel and Studio Bicyclette for more recipes from local makers in the #PastelCraftClub, bright OOTDs, and other darling lifestyle goodness!

Ingredients:

5 lb apricots of any variety, pit removed (we used small yellow Pattersons, about 45-50 apricots)
2 lb sugar
4 oz freshly squeezed lemon juice (about 2 lemons worth)
A small handful of food-grade dried rose petals

Equipment (suggested):
Traditional Mauviel copper confiture pan (available by special order through Kitten and the Bear) or wide double-bottomed stainless steel pot
Home canning kit

Method:

Day 1

  • Wash, then slice your apricots in half and remove the stone from the center.  We left our apricots in halves, but if you have larger, firmer fruit, you can cut once again in half to make 4 cubes.
  • Add the apricots, sugar, and freshly squeezed lemon juice to a non-reactive mixing bowl, toss thoroughly, and cover.
  • Allow to sit in the refrigerator overnight.

Day 2*

  • Line a clean baking sheet with clean, dry jam jars, and put into a 250 F oven.
  • Transfer your apricot mixture into a traditional copper jam pan, or wide stainless steel pot (do not use aluminum, as it will give your jam a dull colour, metallic flavour, and make it difficult for your jam to set).
  • Heat on high heat, scraping the bottom of the pan every couple minutes to avoid hot spots.
  • Your jam will come up to a boil and begin to foam.  Continue to cook, manipulating the burner heat to be at the highest heat possible without your jam boiling over.  The goal with all French style jam making is to have the highest possible heat, the most amount of evaporation, and the shortest time on the stovetop.  This results in a brightly coloured preserve with a fresh, fruit forward flavour.  Thus, this stage of cooking should only take approximately 20 minutes, depending on your pot choice and stovetop.
  • The foam will begin to fall, and you will notice that the fruit has started to get soft, puffy, and has begun to break down.
  • Continue to cook, scraping the bottom of your pot every couple minutes to avoid scorching, however not so often that you don’t allow to jam to come up to temperature and cook on its own.  
  • You will notice that the jam looks more homogenous, and the bubbles are now smaller, and more evenly distributed over the surface of the jam.  As your jam gets closer to being done, you may have to reduce your heat slightly or stir slightly more often.
  • To test for doneness, turn off the heat and scoop a representative sample of jam with a metal teaspoon.  Place the spoon in the freezer for approximately 3 minutes, keeping the pot of jam off the heat in the meanwhile. After 3 minutes, gently nudge the preserve with your finger to check the texture, and tip your spoon and see if it runs.  You can also push the pot of jam, which has now cooled ever so slightly, with a spoon or spatula to see if a skin has formed.  When you lift your spatula out of the jam, it should “sheet” rather than “drip”.
  • If you feel as though your jam should still be thicker, cook for another 5 minutes and test the jam again.  If it is done, skim off any remaining foam and stir in your dried rose petals, adding a little bit at a time to be appetizing and aesthetically appealing.
  • Remove your jars from the oven, and replace with your caps (set a timer for 10 minutes).  Using two heat-safe pitchers, scoop a pitcher full of jam out of your pot with one, and pour directly into the other.  Then, use this pitcher to portion out your jam into your sanitary jars.  I highly recommend purchasing a standard home canning kit such as this one, as a canning funnel and ruler makes this a lot easier.
  • Fill each jam to ¼” of headroom, or the first notch of your headroom gauge.  Wet a clean sheet of paper towel with hot water, and ensure there isn’t a single speck on jam on the rim or in the threading of your jars.  
  • Your caps can stay in the oven during this entire process, however ensure that they have been in the oven for *at least* 10 minutes.  Cap all of your jars according to the directions for your specific style of jar (mason or lug), and return to the oven for exactly 10 minutes.
  • Remove your jars from the oven carefully, space an inch or two apart, and allow to sit undisturbed for 24 hours to ensure a perfect set.
  • Enjoy!  This jam will keep up to 1 year sealed in your pantry (out of direct sunlight), or 3-6 months open in your fridge.

Get creative!  Apricot jams pair perfectly with a number of fun flavour embellishments. Some of my favourites are vanilla bean, amaretto, lavender, rose, kirsh, citrus zest (orange, lemon, tangerine), warm spices (cinnamon, allspice, cardamom, anise, nutmeg), brandy, ginger, and saffron.  Any spirits, petals, floral waters, zests, extracts and herbs should be added at the very end of cooking, while dried spices (ground or whole) should be added at the beginning to allow for a thorough infusion.

Continue reading

all about ontario rhubarb

Each and every year, we’re astounded by the excitement that the rhubarb harvest brings for customers and culinary professionals alike.  Rhubarb is the very first local “fruit” to appear at the market, and truly marks the beginning of the Ontario growing (and jam making!) season.

Technically a vegetable, the celery-like stalks of rhubarb are generally treated as a fruit, traditionally being used for baked goods such as pies, crumbles, and jam of course!  In the early springtime it surfaces as several pink and green ombre stalks growing straight out of the ground, with large, fan-like leaves (which happen to be poisonous when eaten, so be wary!)  Extremely bountiful and easy to grow in our northern climate, rhubarb is a beautiful and productive addition to any Canadian garden. To harvest your plant, simply yank on one stem as close to the soil as possible while holding the rest of your plant in place at its base. Voila- fresh rhubarb for all!  

Raw and on its own, rhubarb is very tart and sour.  Personally, I love it sliced thin and tossed into summer salads (similar to using green apple), or diced into hearty chunks and dipped in sugar. For jam making in particular, rhubarb lacks natural pectin content and falls apart quickly when heated, yielding a softly set, compote-like preserve. Blending with other summer berries however (strawberries being the classic pairing) lends a more vibrant colour, as well as additional pectin for a more fruit forward, complex texture.  

If you are in Ontario, we exclusively use fresh rhubarb from Lennox Farm.  They have a lovely farm stand that’s definitely worth a sunny Springtime visit if you have the chance!

Without further ado, here are my tips and tricks for rhubarb jam making at home:

  • Always use the freshest stalks you can find- still firm rather than droopy!
  • The pinker your rhubarb, the richer and redder your jam will be.  More colourful rhubarb varieties grow as the season progresses, so I like to make my berry/rhubarb blends early in the season, and pure rhubarb preserves later for the richest, most appealing colour.
  • Dice your rhubarb in large chunks to ensure you retain pieces of fruit in your final product, but not so long that you end up with an overly stringy preserve.  My general guideline is cross sections the length of a standard teaspoon, so when you scoop out your jam, the rhubarb fibers fit nicely on your spoon. Also, there’s no need to cut your stalks lengthwise- save a bit of time and effort, as these will fall apart naturally. Your rhubarb jam will likely start off looking like a fruit salad, but don’t fret, it will turn into jam before your eyes, I promise!
  • No matter what proportion you use, always mascerate your rhubarb in sugar and lemon juice overnight before cooking, especially if you are using our local tough outdoor grown varieties.  This will ensure that your preserve will retain rhubarb’s quintessential stringiness, without being overly fibrous.
  • Though strawberry rhubarb is a classic and tasty combination, don’t be shy to try other blends such as raspberry or cherry, or allow the delicate tartness of rhubarb to shine on its own in a pure fruit preserve!
  • Rhubarb jams balance beautifully with a number of creative flavourings: some of my favourites include rose, vanilla, ginger, cardamom, cinnamon, citrus zest, and maple, or even savoury options such as bay leaf, smoke, or peppercorn (these make a delicious cheese board preserve or glaze for BBQ or roasted meats.)
  • Most of all, have fun and jam on!

Continue reading
Back to top